One thing you’re going to see over the next few months are the many house projects we’ve been able to take on and finish during COVID-19. Probably two of the few blessings of the pandemic, more time at home to get things done and more time with family.
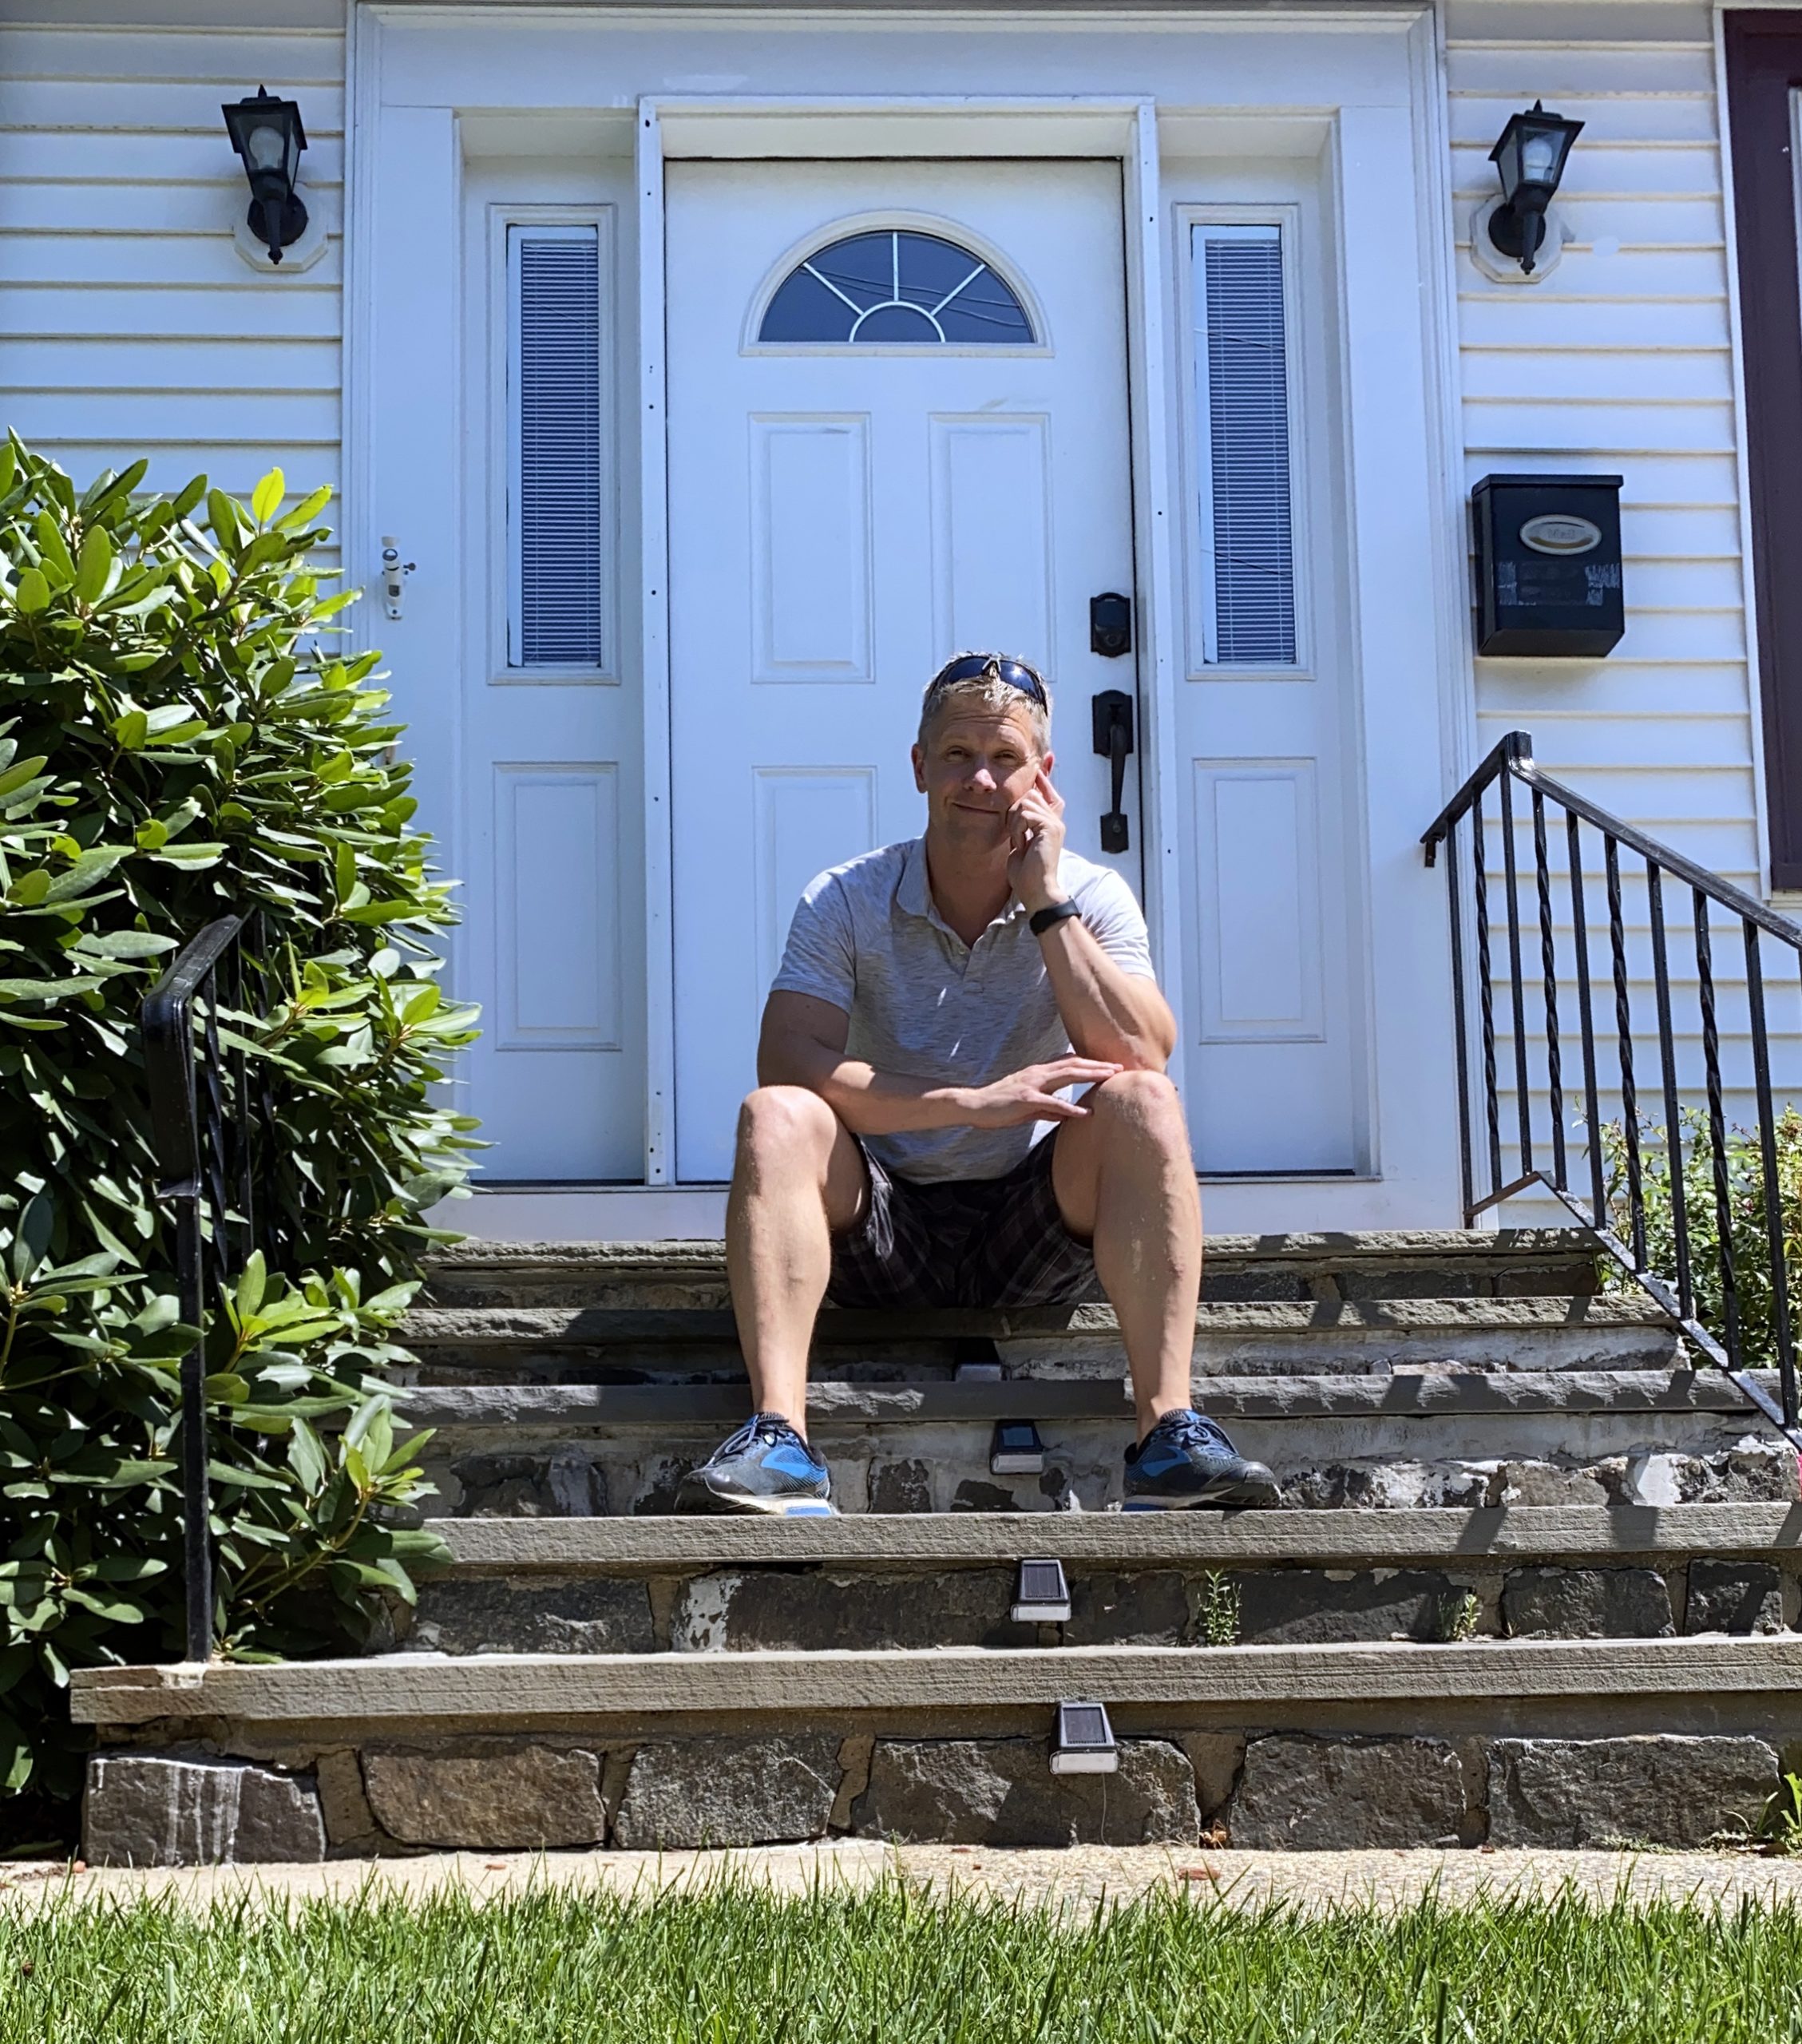
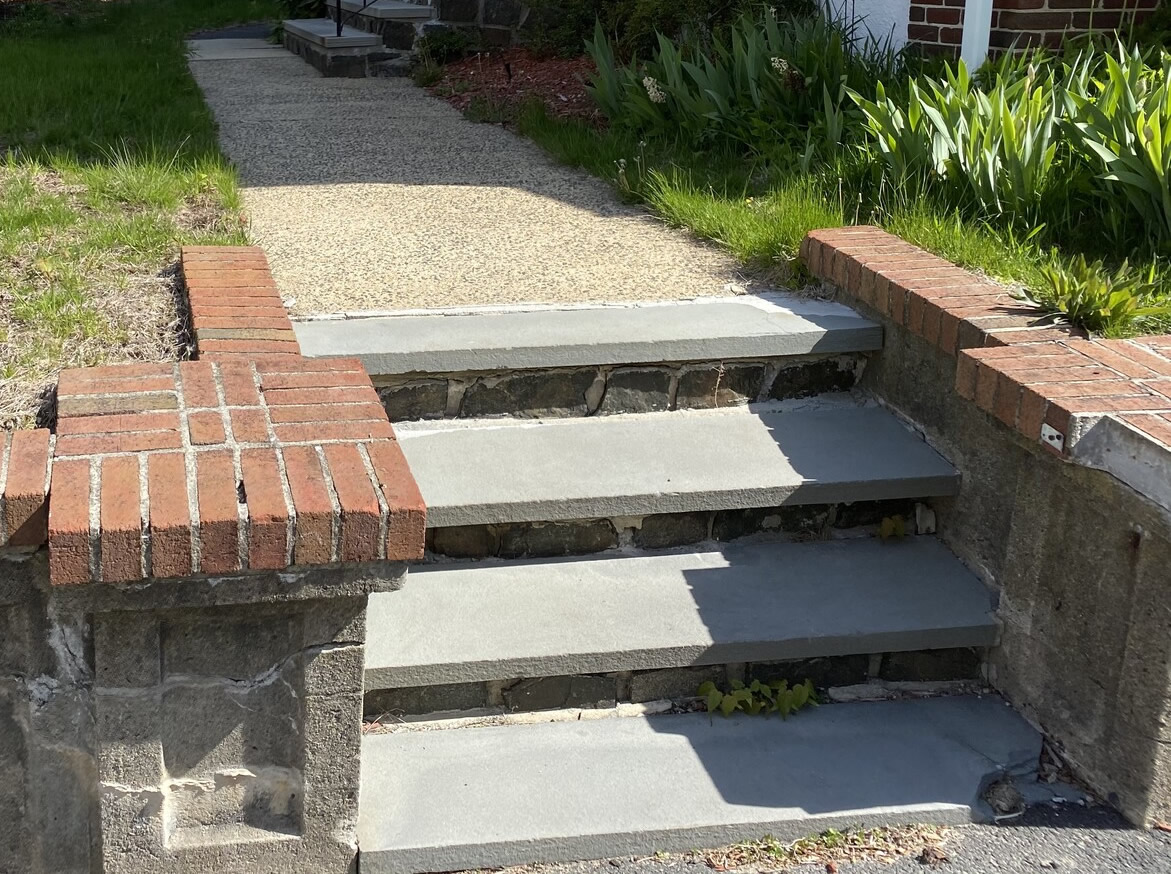
Among the latest (and most important) of our projects has been our front steps. We’re only talking about three steps that take you up over our retaining wall to our sad excuse for a tiny lawn. But those three steps can be treacherous in the winter as the slab steps have loosened up over the last twenty years they’ve been sitting there.

They are basically slabs of slate sitting on top of a bed of rubble and sand encased in cobblestone fronts. We gave a lot of thought as to what the best way to attack this project might be. The slabs themselves weigh close to 100 pounds each and a couple of them are chipping and separating which might mean we’d need to buy entire new slabs (which run about $250 apiece). We weren’t crazy about the idea of having to buy new slabs and given that these steps were fairly critical to the entry of our home, we opted instead to remove the slabs and pour new concrete steps – ourselves.
What experience do we have pouring concrete steps? None. I have poured some concrete sidewalks with my father when I was a teenager and I’ve filled a few holes with concrete, but that is nothing compared to having to build steps, deal with rises, level of the steps, etc. But, Katerina and I are always up for a challenge and we enjoy learning new things. So, we hit the web and YouTube and did a bunch of research before hand.
When it came to pouring the steps, creating the forms was just as important (if not more so) than pouring the actual steps. We had an added problem of two old retaining concrete walls on either side of the steps, so we had nothing to build the side of the form with. We basically had to have fronts to the form and find a way to support 1000 pounds of concrete without supporting it to the sides at all. The most helpful video we found was this one which had the idea for creating front forms that you cut in half and screw together in the middle. Basically, using the outward side pressure to push out on the form and hold in place. Then we were able to break it in the middle by unscrewing it and pulling it apart once the concrete set.
DAY ONE:
We set to work tearing up the old slabs and we wanted to remove everything down to solid surface below because we didn’t want anything allowing these steps to sink down the road. We cleaned out all the sand and dirt and rocks that were in place and cleaned the existing concrete that we would have to adhere to. Then we built the forms using 8 X 2 boards, wedging in shims on the ends just for added pressure and support. Then we added two diagonal supports to brace the forms evenly apart. We knew we wanted a rise of 7″ and a tread of 12″ so this worked out perfect.

DAY TWO:

The second day, we began mixing the concrete in a small tub we got, thought we could save some money and not have to rent a cement mixer. STUPID IDEA! We realized pretty quickly how much we needed that cement mixer and forked out the $38 for a 4-hour rental. When it came to the concrete, we looked at the steps, said “Yeah, I think 6, maybe 7 bags should do it. Let’s get 8 just to be safe.”
We ended up using Quikrete High Strength Mix (80 lb) – 4000 psi. We also didn’t want the stark white appearance that this concrete naturally has, so we added a “charcoal tint to it” adding 2 oz of the tint for each bag (the instructions call for 4 oz per bag).
We’re mixing away, I got talking to my dad on the phone, and he said, “You’ll need at least 20 bags for that.” to which I said “You’re crazy, there’s no way three steps will take more than 8 bags.”
Four hours later and three more trips to Home Depot, we were 17 bags in and finally done with the steps and I was apologizing to Dad, who always knows best. Right?

In the end, the project laid out as follows:
17 bags of Quikrete – $84.83
2 – 8 X 2 boards – $27.17
4 – Quikrete tints – $31.52
4 hour rental for the concrete mixer – $38.00
Grand total: $181.52
This saved us $700 over what we were quoted to have done and we learned a lot in the process.